Appendix B — Git and GitHub
Git is a version control system that allows you to track changes in your code and collaborate with others. GitHub is a web-based platform that hosts Git repositories, making it easy to share and collaborate on projects. Github is NOT the only place to host Git repositories, but it is the most popular and has a large community of users.
You can use git by itself locally for version control. However, if you want to collaborate with others, you will need to use a remote repository, such as GitHub. This allows you to share your code with others, track changes, and collaborate on projects.
It can be confusing to understand the difference between Git and GitHub. In short, Git is the version control system that tracks changes in your code, while GitHub is a platform that hosts your Git repositories and provides additional features for collaboration.
B.1 install Git and GitHub CLI
To use Git and GitHub, you need to have Git installed on your computer. You can download it from git-scm.com. After installation, you can check if Git is installed correctly by running the following command in your terminal:
git --versionWe also need the gh command line tool to interact with GitHub. You can install it from cli.github.com. To install, go to the releases page and download the appropriate version for your operating system. For the Mac, it is the file named something like “Macos Universal” and the file will have a .pkg extension. You can install it by double-clicking the file after downloading it.
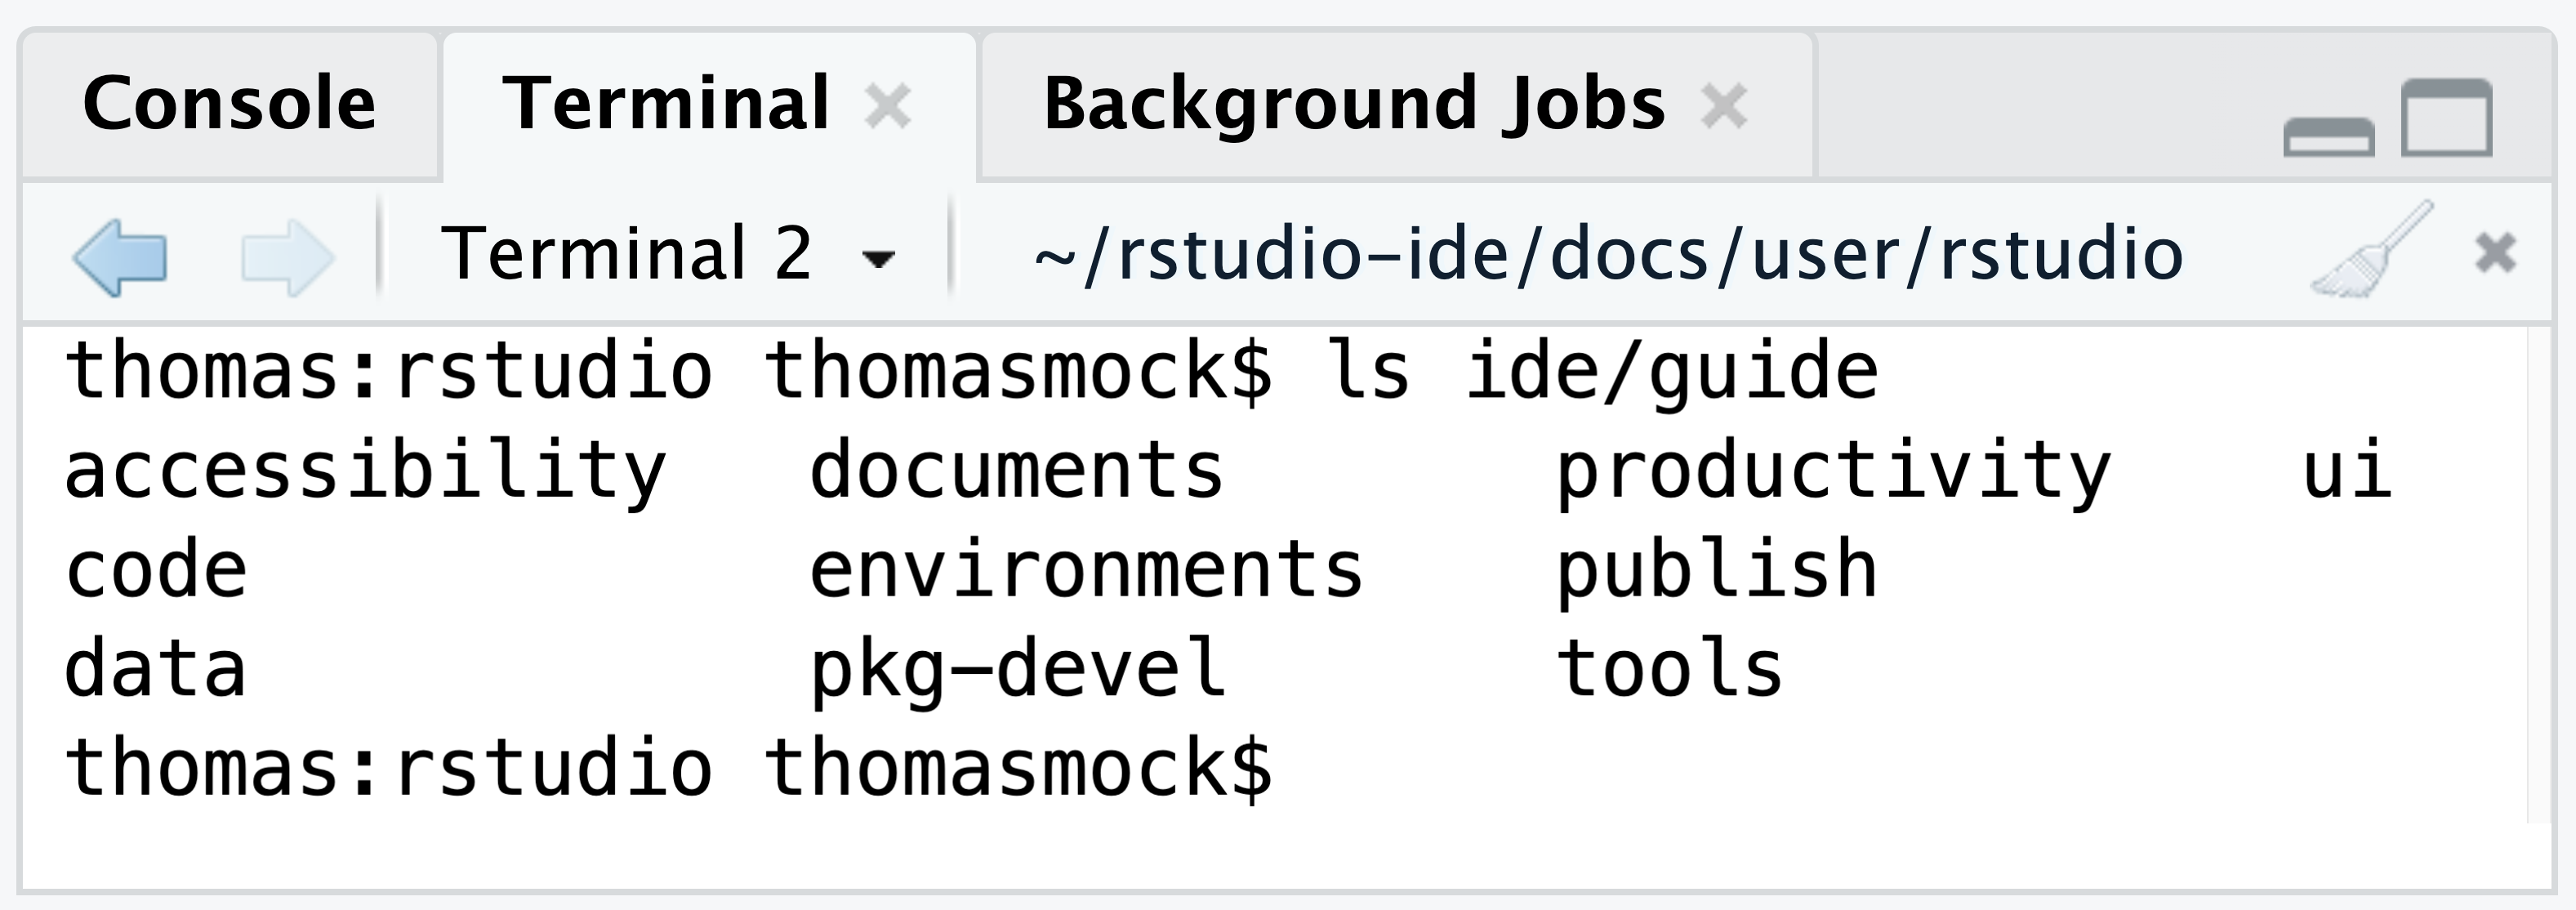
If you are using RStudio, you can use the built-in terminal to run Git commands. To open the terminal, go to the “Terminal” tab in the bottom pane of RStudio. This allows you to run Git commands directly from RStudio without needing to switch to a separate terminal application.
For more details, see the RStudio terminal documentation.
B.2 Configure Git
After installing Git, you need to configure it with your name and email address. This information will be used to identify you as the author of the commits you make. Run the following commands in your terminal, replacing “Your Name” and “you@example.com” with your actual name and email address:
git config --global user.name "Your Name"
git config --global user.email "you@example.com"
B.3 Create a GitHub account
If you don’t already have a GitHub account, you can create one for free at github.com.
B.4 Login to GitHub CLI
After installing the GitHub CLI, you need to log in to your GitHub account. Run the following command in your terminal:
gh auth loginB.5 Introduction to Version Control with Git
Welcome to the world of version control! Think of Git as a “save” button for your entire project, but with the ability to go back to previous saves, see exactly what you changed, and even work on different versions of your project at the same time. It’s an essential tool for reproducible and collaborative research.
In this tutorial, we’ll learn the absolute basics of Git using the command line directly within RStudio.
B.5.1 Key Git Commands We’ll Learn Today:
git init: Initializes a new Git repository in your project folder. This is the first step to start tracking your files.git add: Tells Git which files you want to track changes for. You can think of this as putting your changes into a “staging area.”git commit: Takes a snapshot of your staged changes. This is like creating a permanent save point with a descriptive message.git restore: Discards changes in your working directory. It’s a way to undo modifications you haven’t committed yet.git branch: Allows you to create separate timelines of your project. This is useful for developing new features without affecting your main work.git merge: Combines the changes from one branch into another.
B.6 The Toy Example: An R Script
First, let’s create a simple R script that we can use for our Git exercise. In RStudio, create a new R Script and save it as data_analysis.R.
# data_analysis.R

# Load necessary libraries
library(ggplot2)
library(dplyr)

# Create some sample data
data <- data.frame(
  x = 1:10,
  y = (1:10) ^ 2
)

# Initial data summary
summary(data)
B.7 Let’s Get Started with Git!
Open the Terminal in RStudio (you can usually find it as a tab next to the Console). We’ll be typing all our Git commands here.
For a visual overview of how Git works and the handful of commands that drive it, this short video is a helpful primer before we start.
B.7.1 Step 1: Initialize Your Git Repository
First, we need to tell Git to start tracking our project folder.
git initYou’ll see a message like Initialized empty Git repository in.... You might also notice a new .git folder in your project directory (it might be hidden). This is where Git stores all its tracking information. Your default branch is automatically named main.
B.7.2 Step 2: Your First Commit
Now, let’s add our data_analysis.R script to Git’s tracking and make our first “commit.”
Add the file to the staging area:
git add data_analysis.RCommit the staged file with a message:
git commit -m "Initial commit: Add basic data script"The
-mflag lets you write your commit message directly in the command. Good commit messages are short but descriptive!
B.7.3 Step 3: Making and Undoing a Change
Let’s modify our R script. Add a plotting section to the end of data_analysis.R.
# ... (keep the previous code)

# Create a plot
ggplot(data, aes(x = x, y = y)) +
  geom_point() +
  ggtitle("A Simple Scatter Plot")
Now, what if we decided we didn’t want this change after all? We can use git restore to go back to our last committed version.
git restore data_analysis.RIf you look at your data_analysis.R file now, the plotting code will be gone!
B.7.4 Step 4: Branching Out
Branches are a powerful feature. Let’s create a new branch to add our plot without messing up our main branch.
Create a new branch and switch to it:
git checkout -b add-plotThis is a shortcut for
git branch add-plotandgit checkout add-plot.
Now, re-add the plotting code to data_analysis.R.
# ... (keep the previous code)

# Create a plot
ggplot(data, aes(x = x, y = y)) +
  geom_point() +
  ggtitle("A Simple Scatter Plot")
Let’s commit this change on our new add-plot branch.
git add data_analysis.R
git commit -m "feat: Add scatter plot"
B.7.5 Step 5: Seeing Branches in Action
Now for the magic of branches. Let’s switch back to our main branch.
git checkout mainNow, open your data_analysis.R script in the RStudio editor. The plotting code is gone! That’s because the change only exists on the add-plot branch. The main branch is exactly as we last left it.
Let’s switch back to our feature branch.
git checkout add-plotCheck the data_analysis.R script again. The plotting code is back! This demonstrates how branches allow you to work on different versions of your project in isolation.
B.7.6 Step 6: Merging Your Work
Our plot is complete and we’re happy with it. It’s time to merge it back into our main branch to incorporate the new feature.
Switch back to the main branch, which is our target for the merge:
git checkout mainMerge the
add-plotbranch intomain:git merge add-plot
You’ll see a message indicating that the merge happened. Now, your main branch has the updated data_analysis.R script with the plotting code!